
Collections
Queue management
Queues group accounts so a team can work them in order. In this release a queue is a named list of accounts with filters and bulk actions over it - not a self-maintaining, rules-driven or score-driven list.
Written for: Collections supervisors · Collectors · Evaluators
Two screens called queues
| Field or control | What it means |
|---|---|
| Work Queues (My Work → Work Queues) | The Queue Management list at /dashboard/queues and each queue's detail page. Queues and the accounts in them are stored records. Opening a queue lists its unassigned and assigned accounts with filters and bulk actions. |
| AR work queues (/dashboard/ar/queues) | A read-only grouping of self-pay accounts by aging bucket (0-30 through 121+). The queue names, descriptions and priorities on this screen are fixed labels per bucket, not configurable queues. |
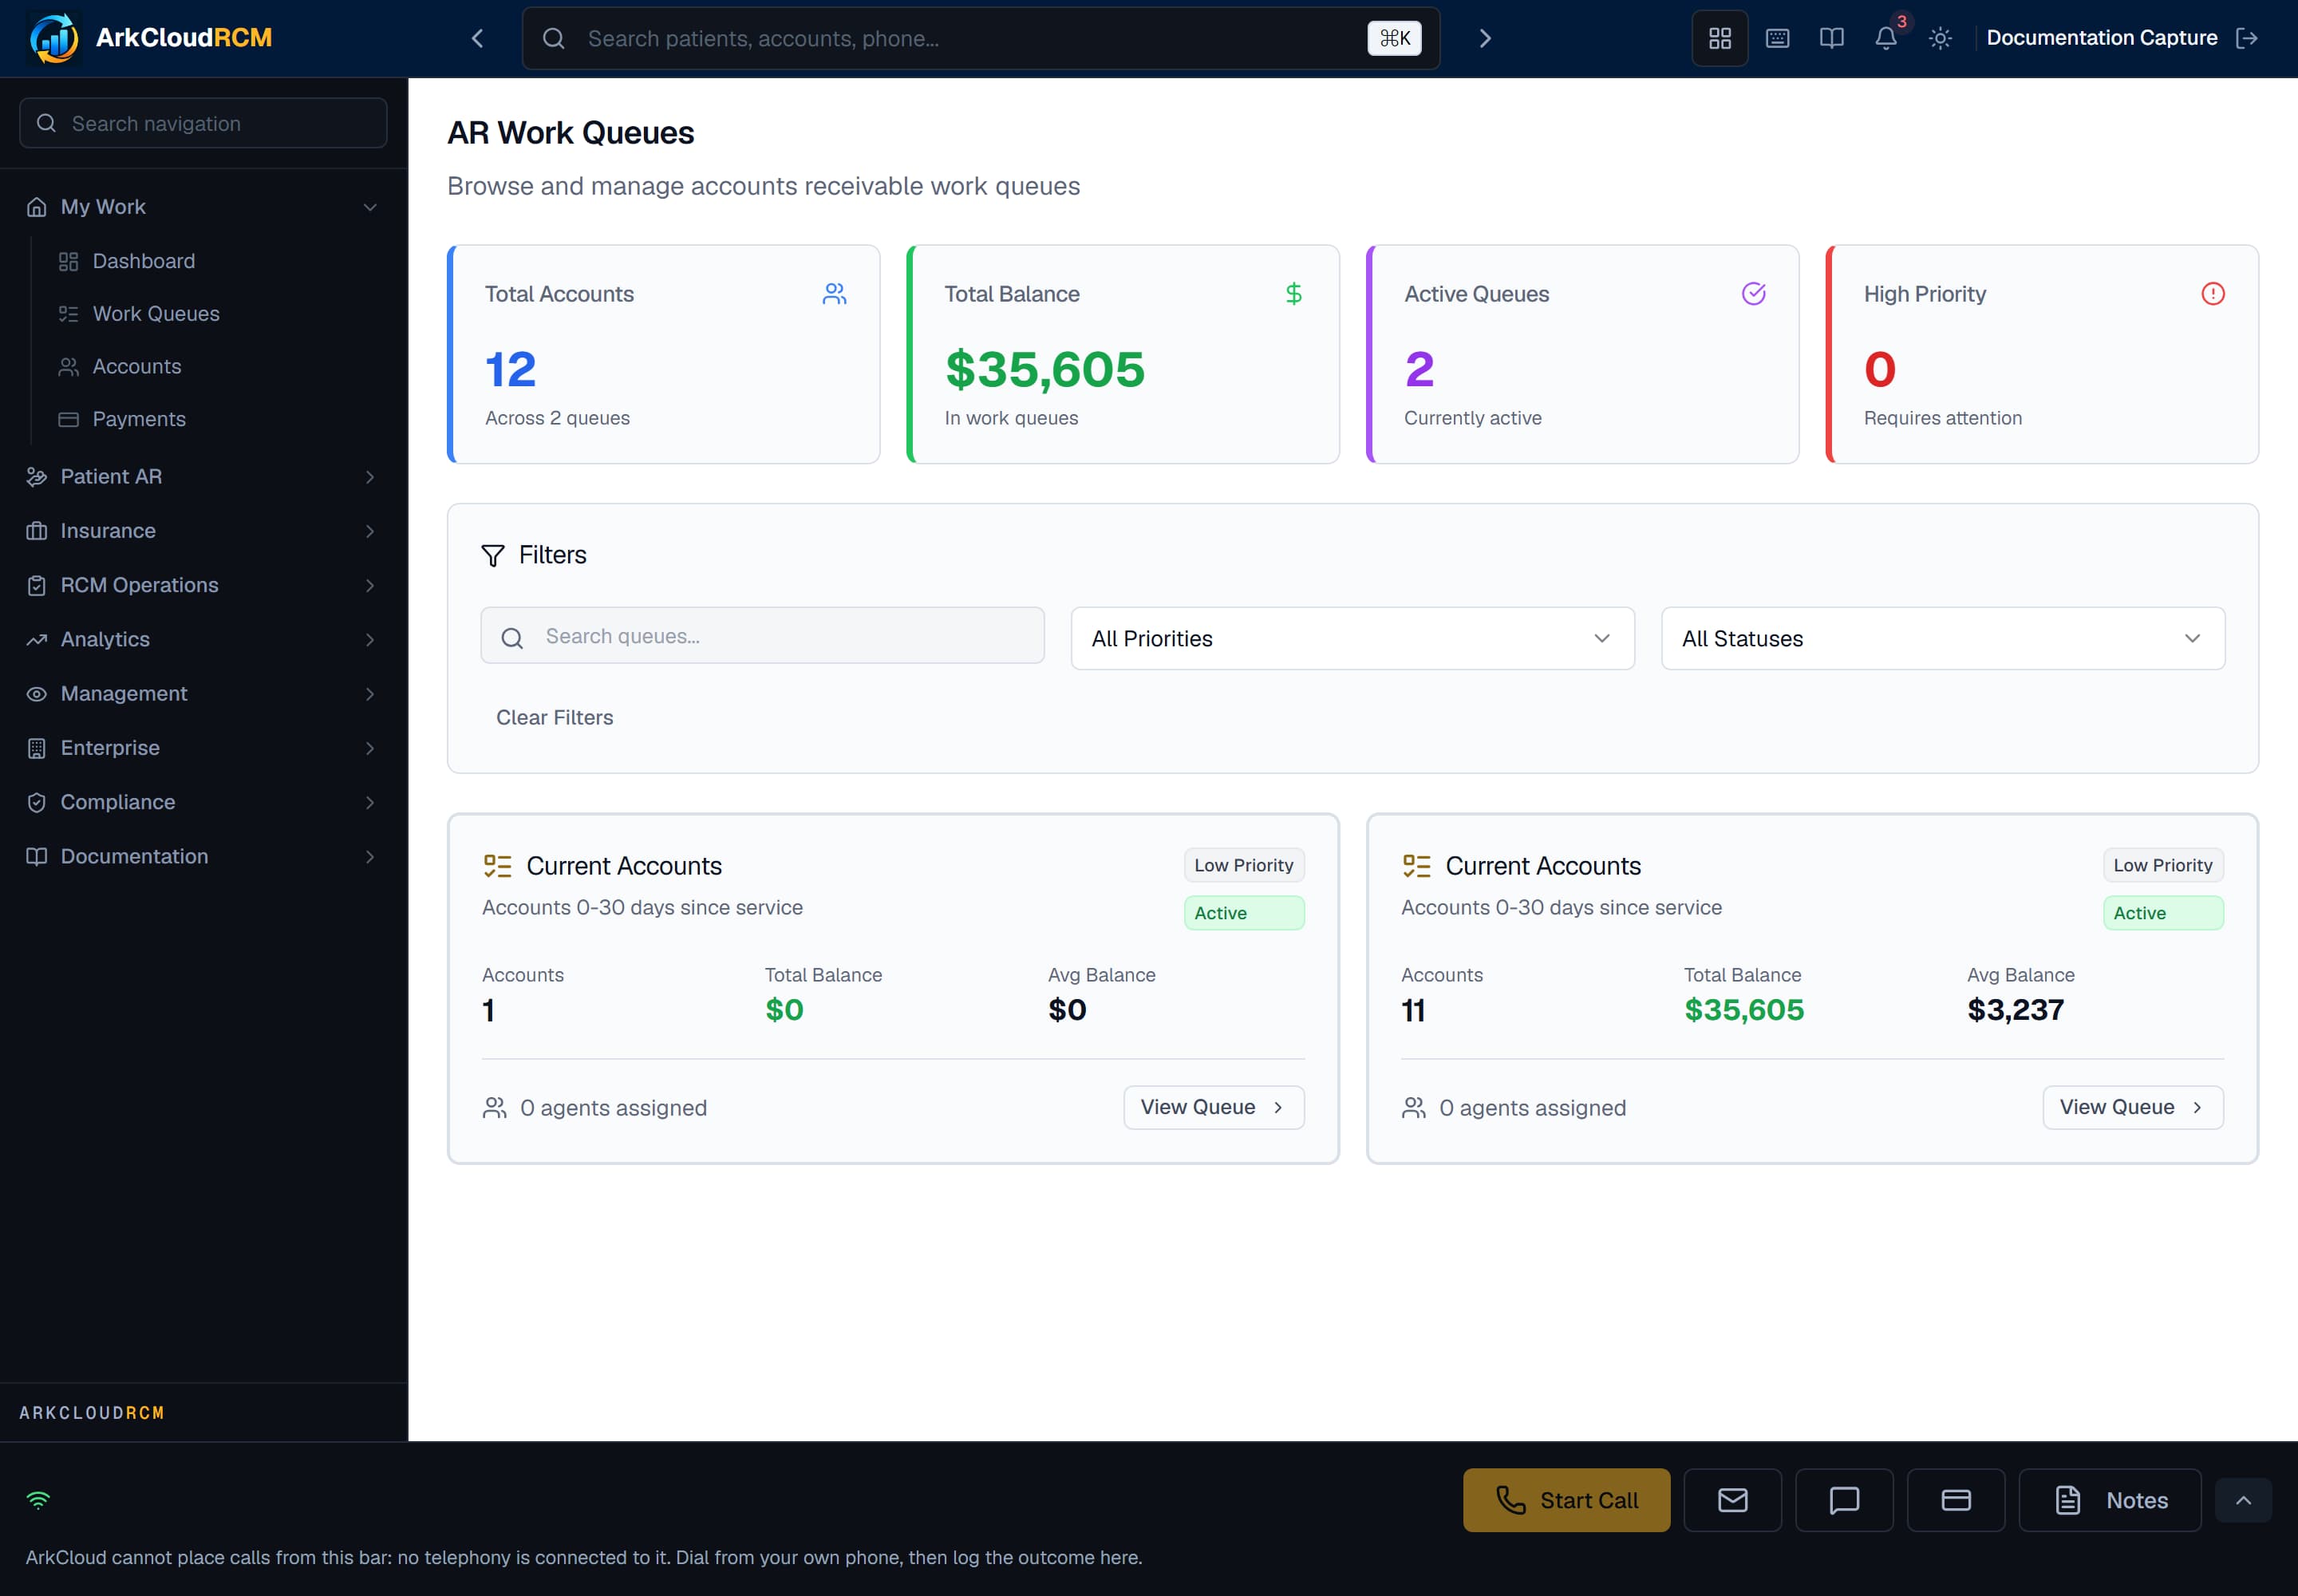
The AR work queues view in an organisation with no self-pay balances yet. Each row is an aging bucket, not a configured queue.
Empty state. Captured in a demonstration organisation with no records of this type yet. The controls, columns and filters are the ones a populated screen uses.
/dashboard/ar/queues
Setting up queues
Sidebar → My Work → Work Queues → Set up queues
- Enter a Name (at least two characters, unique in your organisation regardless of case), an optional Description and a Priority from 0 to 100, then choose Create queue.
- To change a queue, choose Edit, change its name, description or priority, and Save.
- To take a queue out of use, choose Deactivate. It is hidden from the Queue Management list and keeps its history; Activate brings it back. A queue cannot be deleted.
The panel sets a queue's name, description, priority and whether it is active. It does not set the queue's filters or put accounts into the queue.
Working a queue
Sidebar → My Work → Work Queues → (queue)
- Open a queue from the Queue Management list.
- Narrow the list with the filters: minimum and maximum balance, aging bucket and priority, or one of three rule-based quick filters (fixed balance and aging rules, not a model). There is no date or status filter, and filters cannot be saved on a queue; saved filters are on Patient AR → Collections.
- As a collector, choose Get Next Account. It opens the highest-priority account in this queue that is already assigned to you; it does not pull an unassigned account, so a supervisor has to assign work first (see work distribution).
- As a supervisor, select accounts and use Set Priority (High 1, Medium 2, Low 3). Bulk assignment and bulk status changes are not on the queue screen; they are on Patient AR → Collections.
- Any user who can work the queue can also select accounts and choose Generate Statements - a statement is generated for each selected account with a balance due but nothing is sent; send or print them from AR → Statements - or Export CSV to download the selected rows.
Where priority comes from
An account's priority is set when it is imported (1, 3 or 5 according to its age) and can be changed by a supervisor with the bulk priority action. Nothing re-scores accounts automatically. The propensity score shown on an account's Propensity tab is a rule-based estimate calculated on request; it does not order any queue.
What is not implemented
Practical consequence: decide your segmentation (for example by aging bucket or balance band), have a supervisor or administrator create those queues under Set up queues, and plan for a supervisor to assign accounts and re-prioritise as balances change.